
Prerequisites and Environment Requirements
Before uninstalling Microsoft Office, ensure your environment meets these conditions and you have appropriate preparation steps completed.
System Access and Permissions
You require administrative privileges on the Windows system. Run all commands and installation procedures using an account with administrator rights. Standard user accounts lack permission to modify system files, registry entries, and program directories.
If you use a Microsoft Account for sign-in, understand that uninstalling Office does not automatically remove the Microsoft Account from Windows. You can retain the account for other cloud services while removing Office applications.
Office Versions Supported
This guide covers complete uninstall procedures for:
- Microsoft 365 subscriptions (current generation)
- Office 2021 and Office 2019
- Office 2016 and Office 2013
- Older Office versions (2010, 2007)
Different versions may have slightly different removal procedures; verify your Office version through Settings or the Office application itself.
Backup Important Documents
Before uninstalling, ensure all important Word documents, Excel spreadsheets, PowerPoint presentations, and Outlook data are backed up. While uninstalling applications does not delete user files, accidental loss is possible during cleanup operations.
Backup personal data to an external drive or cloud service independent of Office infrastructure.
Internet Connectivity
Official Microsoft removal tools and recovery utilities require internet connectivity to download necessary components. Ensure stable internet access during the uninstall process.
For air-gapped or restricted connectivity scenarios, offline removal procedures are documented in later sections.
Step-by-Step: Automated Removal Using Microsoft Recovery Tool
This method uses Microsoft's official Support and Recovery Assistant to completely remove Office with minimal manual intervention.
Step 1: Download Microsoft Support and Recovery Assistant
Visit the official Microsoft support page and download the Support and Recovery Assistant tool. The tool executable file downloads directly to your computer.
Alternatively, search your system for "Support and Recovery Assistant" in the Microsoft Store or Windows Settings. The application is freely available from official Microsoft channels.
Save the downloaded executable file to a convenient location such as your Desktop or Downloads folder.
Step 2: Run the Recovery Tool as Administrator
Right-click the downloaded executable file and select "Run as Administrator." Windows displays a User Account Control prompt requesting elevated permissions. Click Yes to allow the tool to execute with full system access.
The tool launches and begins scanning your system for installed Office versions. This scan typically completes within 30 seconds to 1 minute depending on system performance.
Step 3: Select Office Products to Remove
The Recovery Assistant displays a list of detected Office installations. Select the Microsoft Office version you intend to remove by clicking its checkbox or name entry.
For multiple Office versions, you can select all installations simultaneously or remove them one-by-one. Most users remove all Office installations to ensure complete removal and clean slate for fresh installation.
Click the Remove or Uninstall button to proceed. The tool prompts you to confirm the removal action and close any open Office applications before proceeding.
Step 4: Close Office Applications
If any Word, Excel, PowerPoint, Outlook, or other Office application is currently running, the tool displays a notification to close these applications. Save any open documents, close all Office windows, and click the confirmation button.
The Recovery Assistant waits for applications to close before initiating removal. For stubborn applications that won't close normally, open Task Manager and force-close them through the Applications tab.
Step 5: Initiate Uninstall Process
After confirming application closure, click the Remove button again. The tool begins downloading necessary removal components and initiating the uninstall sequence.
Progress displays throughout the removal process. Depending on installation size and system performance, complete removal typically requires 5–15 minutes.
The tool may prompt for a system restart during or after removal. If prompted, save any unsaved work, close other applications, and allow the restart to proceed.
Step 6: Complete Removal and Verification
After restart, the Recovery Assistant reopens automatically to complete final cleanup steps. Follow any remaining prompts to finalize the removal process.
Once the tool indicates successful removal, close the Recovery Assistant. Your system is now free of Microsoft Office installations.
Step-by-Step: Manual Uninstall Through Windows Settings
For users preferring graphical interfaces or when automated tools are unavailable, Windows Settings provides manual uninstall capabilities.
Step 1: Open Windows Settings and Apps Menu
Press the Windows key + I to open the Settings application. Navigate to Apps > Installed Apps (or Apps & Features on older Windows versions).
Alternatively, right-click the Windows Start menu and select Settings directly.
Step 2: Locate Microsoft Office Entries
Search for "Microsoft Office" or "Microsoft 365" in the Installed Apps list. The search box at the top of the Apps menu filters results quickly.
Office installations typically appear as "Microsoft Office" or "Microsoft 365" followed by the version number. Click on the Office entry to select it.
Step 3: Initiate Uninstall
Click the three-dot menu button next to the Office entry, then select "Uninstall." Alternatively, some Office versions display an "Uninstall" button directly.
Windows displays a confirmation dialog. Click "Uninstall" again to confirm the removal action.
Step 4: Follow Uninstall Wizard
The Office uninstall wizard opens, presenting options for the uninstall type. Standard uninstall options include:
Quick Removal - Removes Office applications but may leave some configuration files
Full Uninstall - Removes Office and associated files
Select "Full Uninstall" or "Remove Completely" to ensure comprehensive removal.
Step 5: Complete Uninstall and Restart
The wizard removes Office components and may prompt for a system restart. If prompted, allow the restart to complete final cleanup procedures.
After restart, verify that Office no longer appears in the Installed Apps list.
Step-by-Step: Registry and File Cleanup for Complete Removal
Even after using automated tools or Windows uninstall, residual registry entries and cached files may remain. Manual cleanup ensures complete removal.
Step 1: Access Registry Editor
Press Windows key + R to open the Run dialog. Type regedit and press Enter. Windows displays a User Account Control prompt. Click Yes to allow Registry Editor to open.
Warning: Registry editing can disable Windows if performed incorrectly. Edit only specified registry paths. Back up the registry before making changes.
Step 2: Clean Registry Entries Under HKEY_LOCAL_MACHINE
Navigate to:
HKEY_LOCAL_MACHINE\SOFTWARE\Microsoft\Office
If this key exists, right-click it and select Delete. Windows removes all Office-related registry entries under this path.
Repeat for:
HKEY_LOCAL_MACHINE\SOFTWARE\Microsoft\Windows\CurrentVersion\Uninstall
Search for Office-related entries and delete them.
Step 3: Clean Registry Entries Under HKEY_CURRENT_USER
Navigate to:
HKEY_CURRENT_USER\SOFTWARE\Microsoft\Office
Right-click and delete this key if present. This removes user-specific Office preferences and settings.
Also clean:
HKEY_CURRENT_USER\SOFTWARE\Microsoft\Windows\CurrentVersion\Uninstall
Delete any Office-related entries.
Step 4: Delete Office Files from Program Files Directories
Open File Explorer and navigate to:
C:\Program Files\Microsoft Office
C:\Program Files (x86)\Microsoft Office
If these directories exist, delete them entirely. Office may not be installed in the default location; search for "Microsoft Office" folders throughout Program Files and delete them.
Step 5: Clean AppData and User Profile Directories
Navigate to:
C:\Users\[YourUsername]\AppData\Local\Microsoft\Office
C:\Users\[YourUsername]\AppData\Roaming\Microsoft\Office
Delete the Office folder if present. This removes cached settings and temporary files.
Repeat for individual application folders (Word, Excel, PowerPoint, Outlook) if they exist in AppData\Roaming\Microsoft.
Step 6: Remove Office from Task Scheduler
Open Task Scheduler (search "Task Scheduler" in Windows Search). Navigate to:
Task Scheduler Library > Microsoft > Office
If an Office folder exists, right-click it and delete. This removes Office scheduled tasks and maintenance routines.
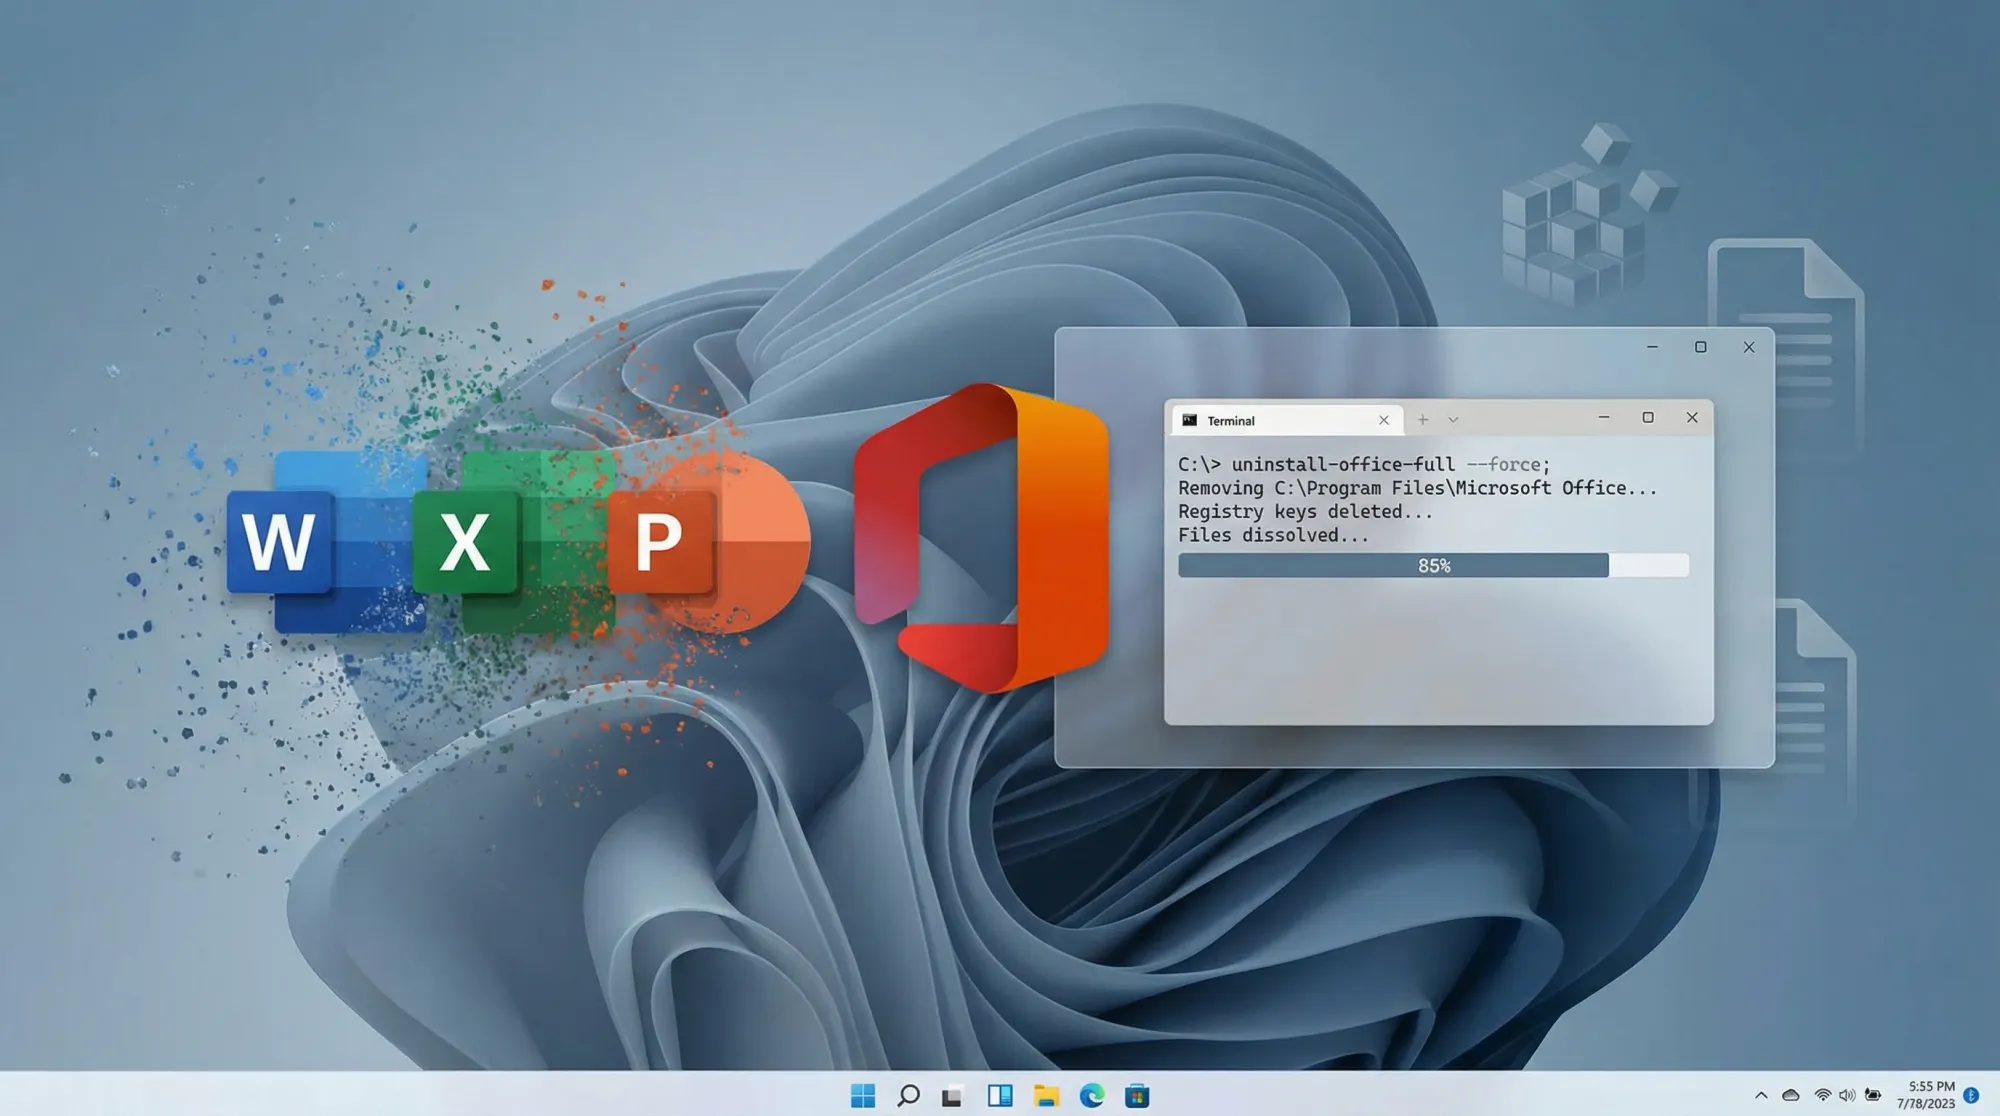
Step-by-Step: PowerShell-Based Removal for Enterprise Environments
IT administrators managing multiple systems can use PowerShell scripts to automate Office uninstall across fleet deployments.
Step 1: Download Office Removal Script
Download the official Microsoft Office removal script from GitHub or Microsoft's IT professional resources. The script automates all removal steps including registry cleanup.
Alternatively, create a custom PowerShell script using the Get-Package and Remove-Package cmdlets:
# Remove Microsoft Office using PowerShell
Get-Package -Name "*Microsoft Office*" | Uninstall-Package -Force
Step 2: Configure Execution Policy
Open PowerShell as Administrator. Set the execution policy to allow script execution:
Set-ExecutionPolicy -ExecutionPolicy RemoteSigned -Scope CurrentUser
This permits locally authored scripts while blocking unsigned remote scripts.
Step 3: Run the Removal Script
Execute the Office removal script. The script automatically handles:
- Closing open Office applications
- Removing Office registry entries
- Deleting Office files and directories
- Cleaning AppData locations
- Removing Task Scheduler entries
# Execute the removal script
& "C:\Path\To\OfficeRemovalScript.ps1"
Replace the path with the actual script location.
Step 4: Monitor Removal Progress
PowerShell displays removal progress and status messages. The script notifies you when uninstall completes successfully or encounters errors.
If errors occur, review error messages and address specific issues before reinstalling Office.
Troubleshooting Common Issues
Office Uninstall Hangs or Fails to Complete
Symptom: The uninstall process begins but progresses very slowly or stops responding.
Diagnosis: Open Office applications, antivirus interference, or file system locks may prevent uninstall.
Resolution: Force-close all Office applications through Task Manager. Temporarily disable antivirus software during uninstall. Restart the computer and attempt uninstall again.
Registry Cannot Be Deleted Due to Permissions
Symptom: Attempting to delete registry keys results in "Access Denied" errors.
Diagnosis: The registry keys are protected by system permissions or other processes are using them.
Resolution: Ensure you're running Registry Editor as Administrator. Close all Office applications and antivirus programs. Restart the system and try again immediately after boot before other services start.
Office Files Locked and Cannot Be Deleted
Symptom: File deletion fails because files are in use by another process.
Diagnosis: Office services running in the background or system processes holding file locks.
Resolution: Open Services (search "Services" in Windows). Locate "Click-to-Run Service" or similar Office services. Right-click and select Stop. This halts background Office processes and releases file locks. Retry file deletion.
Pro Tip: Some files may only be deletable after restart. Schedule deletion for next boot by marking files for deletion through Safe Mode.
Unable to Reinstall Office After Uninstall
Symptom: Uninstall completed but attempting to reinstall Office fails with error messages.
Diagnosis: Incomplete removal left registry entries or files preventing fresh installation.
Resolution: Run the Microsoft Support and Recovery Assistant again, selecting the repair or clean remove option specifically. Alternatively, perform complete registry and file cleanup using Method 3, then retry installation.
Best Practices for Office Removal and Reinstallation
Document Office License Information
Before uninstalling, record your Office license key or confirm your Microsoft Account has proper subscription status. Screenshot the activation information from Office settings.
This documentation prevents license activation issues if reinstalling on the same system.
Backup Office Data Files
Beyond documents, ensure you backup:
- Outlook data (.pst and .ost files)
- OneNote notebooks
- Access databases
- Any custom Office macros or templates
These files reside outside Office directories and won't automatically reinstall.
Consider System Restore Point
Before uninstalling, create a Windows System Restore point:
Checkpoint-Computer -Description "Before Office Uninstall"
This allows rollback if uninstall causes unexpected system issues.
Plan Reinstallation Strategy
Before removing Office, decide your reinstallation approach:
- Reinstall the same Office version
- Upgrade to Microsoft 365 subscription
- Switch to alternative office suite (LibreOffice, WPS Office)
Different approaches have different timeline and license requirements.
Verify Disk Space After Uninstall
Office installations consume 2–5 GB of disk space. After uninstall, verify that storage was actually reclaimed:
Get-Volume C: | Select-Object SizeRemaining
If disk space wasn't reclaimed, run Disk Cleanup utility to remove temporary files.
Final Verification and Validation
Confirm Complete Removal
After completing uninstall procedures, verify Office no longer exists on your system:
Check Programs List:
Open Settings > Apps > Installed Apps and search for "Microsoft Office." No Office entries should appear.
Check Registry:
Open Registry Editor and navigate to HKEY_LOCAL_MACHINE\SOFTWARE\Microsoft\Office. The Office key should not exist.
Check Disk:
Search Windows File Explorer for "Microsoft Office" folders. No Office-related directories should remain in Program Files or AppData.
Test Reinstallation if Applicable
If planning to reinstall Office, attempt installation immediately after uninstall to verify the system is in a clean state. Installation should proceed without errors.
If installation fails, review error messages and repeat cleanup procedures before retrying.
Monitor System Performance Post-Uninstall
Office services running in the background consume system resources. After uninstall, monitor system performance:
Get-Process | Sort-Object WorkingSet -Descending | Select-Object Name, WorkingSet -First 10
Memory usage should decrease, and Office-related processes should not appear.
Conclusion
Completely removing Microsoft Office requires more than standard uninstall procedures. Residual registry entries, cached files, and configuration directories often remain after standard removal, causing problems during reinstallation.
Using the Microsoft Support and Recovery Assistant provides automated complete removal. For comprehensive cleanup, supplement with manual registry editing and file deletion. PowerShell-based scripts enable administrators to automate removal across multiple systems.
Following this guide ensures Office is completely removed from your system, resolving installation errors and reclaiming storage space. Whether transitioning to alternative office suites or upgrading to Microsoft 365, clean uninstall provides the foundation for smooth system transitions.
Related guides: Reinstalling Microsoft Office, Microsoft 365 subscription management, and alternative office suite comparisons.
Sources
-
Microsoft Support – Uninstall Office Automatically Using Support and Recovery Assistant – https://support.microsoft.com/en-us/office/uninstall-office-automatically-9ad57b43-fa12-859a-9cf0-b694637b3b05
-
Microsoft Learn – Manual Office Uninstall and Troubleshooting – https://learn.microsoft.com/en-us/office/troubleshoot/general/uninstall-office
-
Poole College IT Services – Office 365 Uninstall and Reinstall Process Guide – https://it.poole.ncsu.edu/office-365-uninstall-and-reinstall-process/
-
WPS Office – Microsoft Office Removal Tool: Step-by-Step Guide – https://www.wps.com/blog/microsoft-office-removal-tool-how-it-works-step-by-step-guide/